📧 Email Setup
Your company email is [email protected]. Follow the steps below to set up email on your devices.
⚠️ Important: Please see Prasad Abraham for your initial password setup before proceeding.
🌐 Webmail Access (First Time Setup - REQUIRED)
You must complete these steps first to set your name and change your password:
Open Webmail →🖥️ First Time Webmail Login (MUST DO FIRST)
Before setting up email on your phone, you must first login to webmail to add your name and change your password.
💡 Tip: You can access your email through Webmail on any device — computer, tablet, or phone — by visiting purelymail.com/user/login in any web browser. No app installation required!
Click any screenshot to enlarge
Open Your Browser
Open Chrome, Safari, Firefox, or any web browser of your choice.

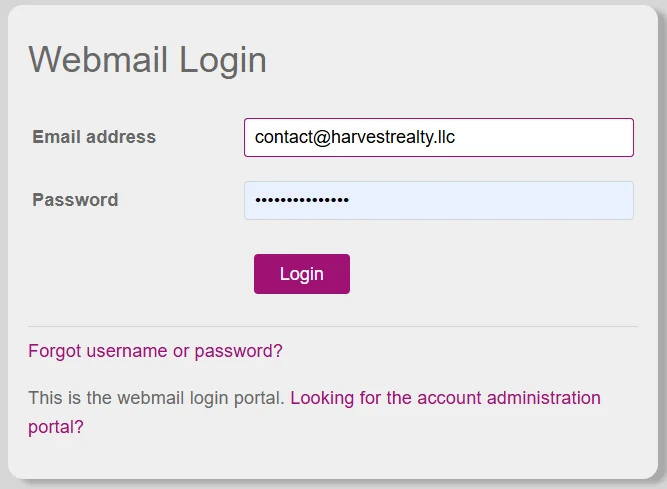
Login With Your Credentials
Enter your email address ([email protected]) and the temporary password provided by Prasad Abraham.
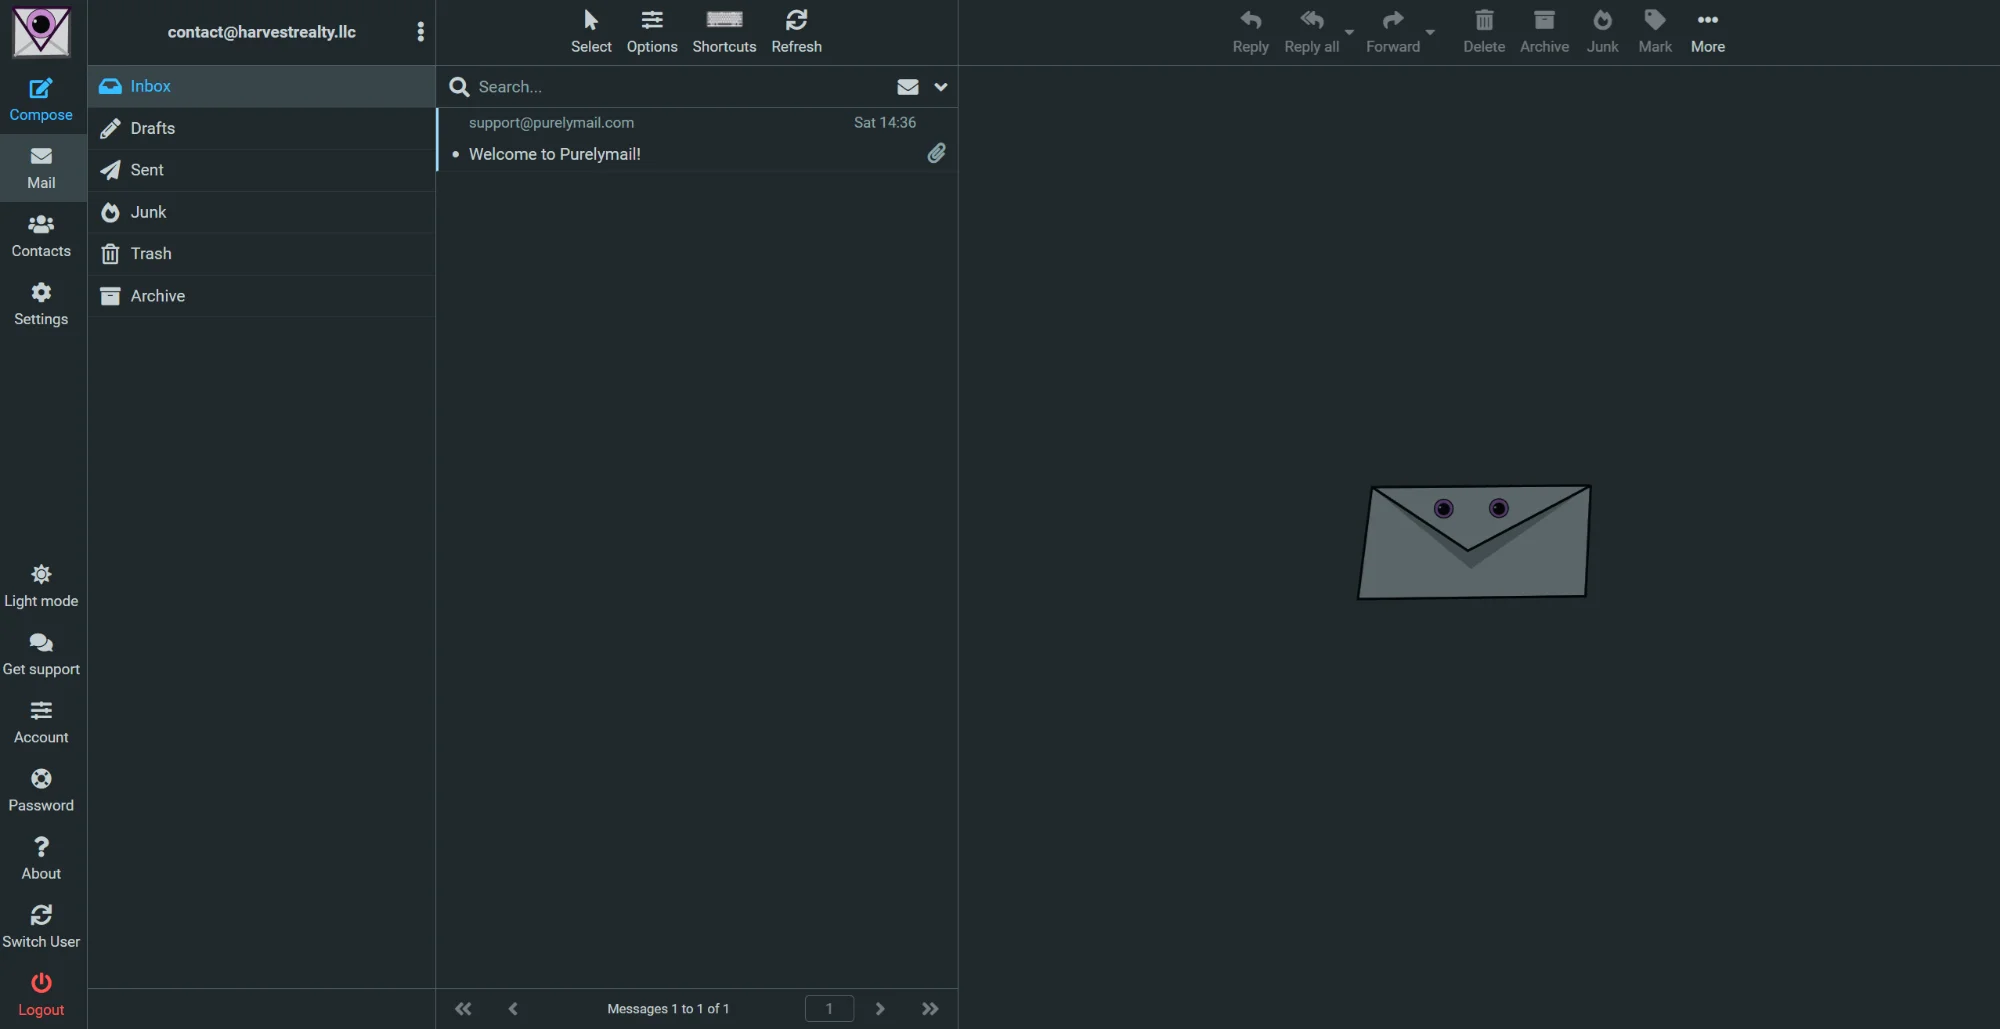
Welcome to Your Inbox!
You're now logged in to your webmail inbox. You'll see the main interface with folders on the left.
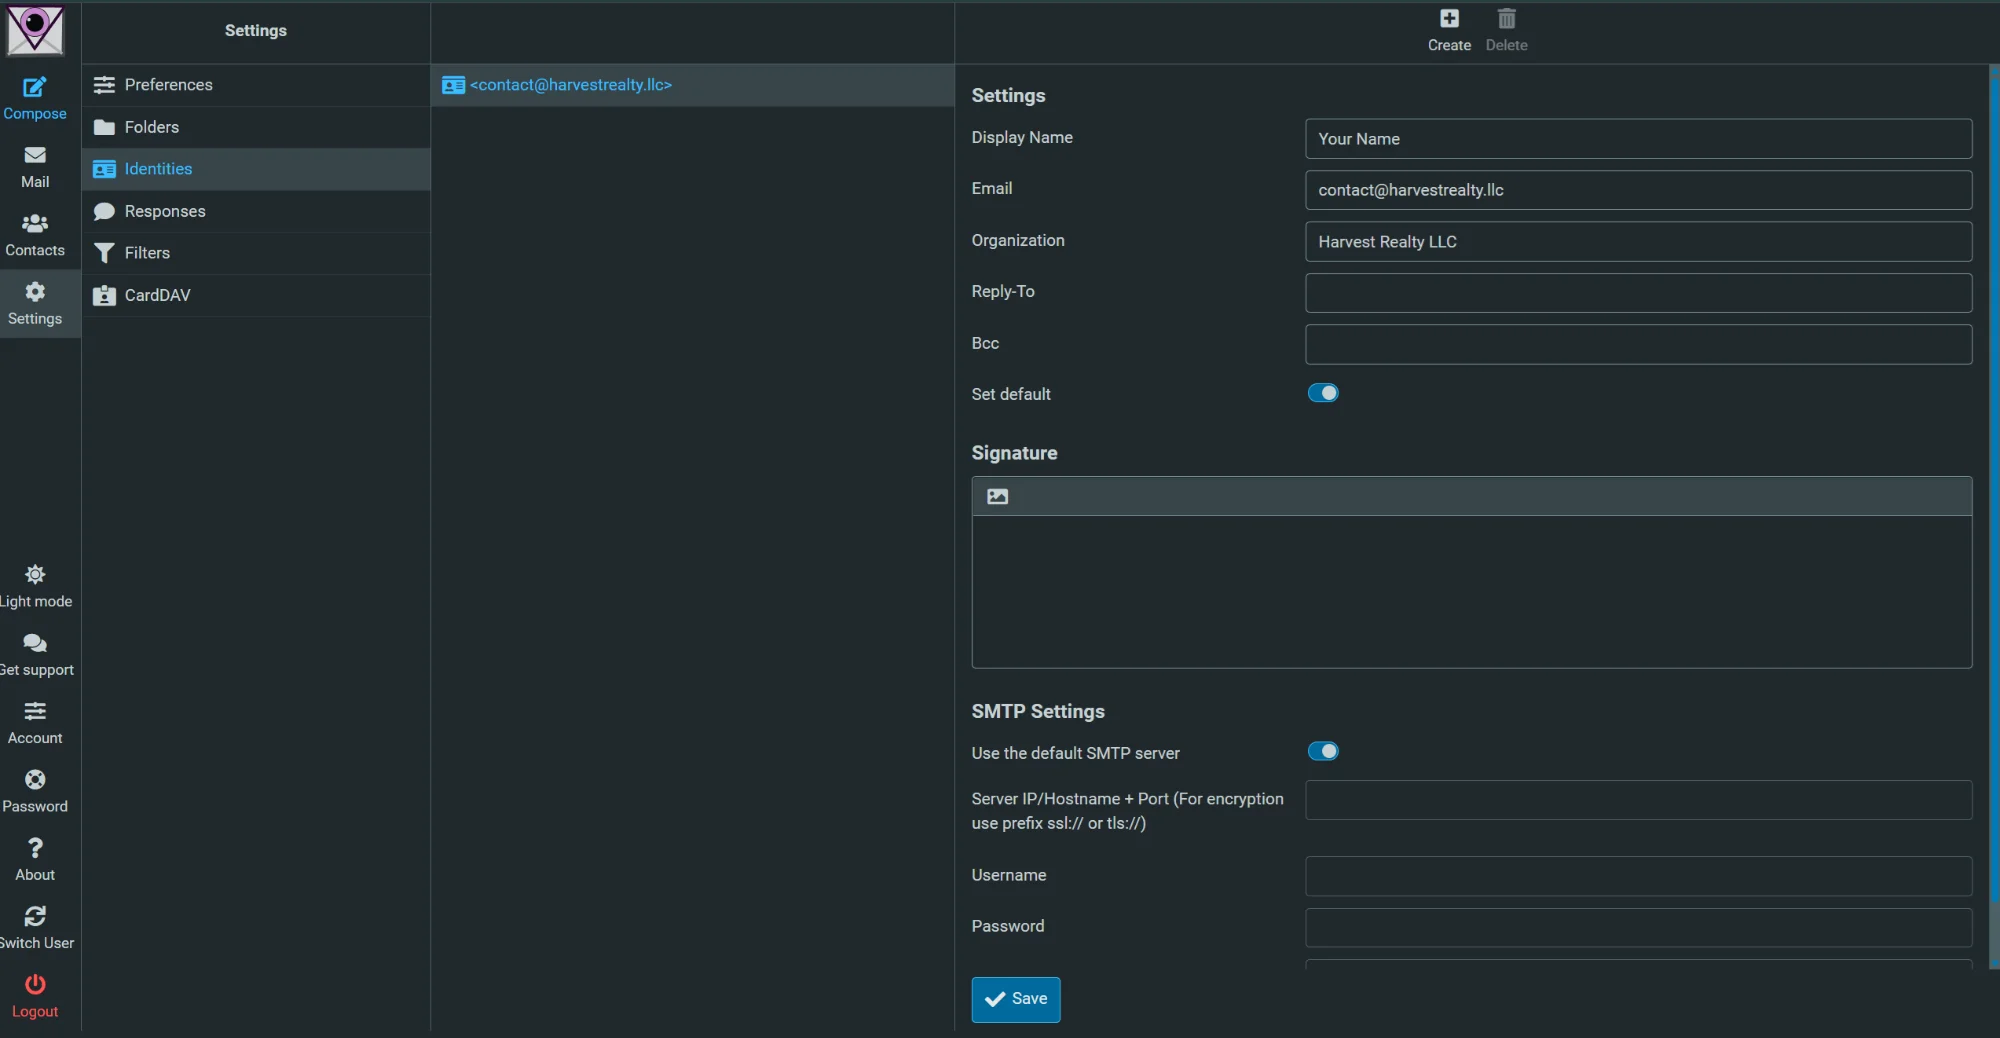
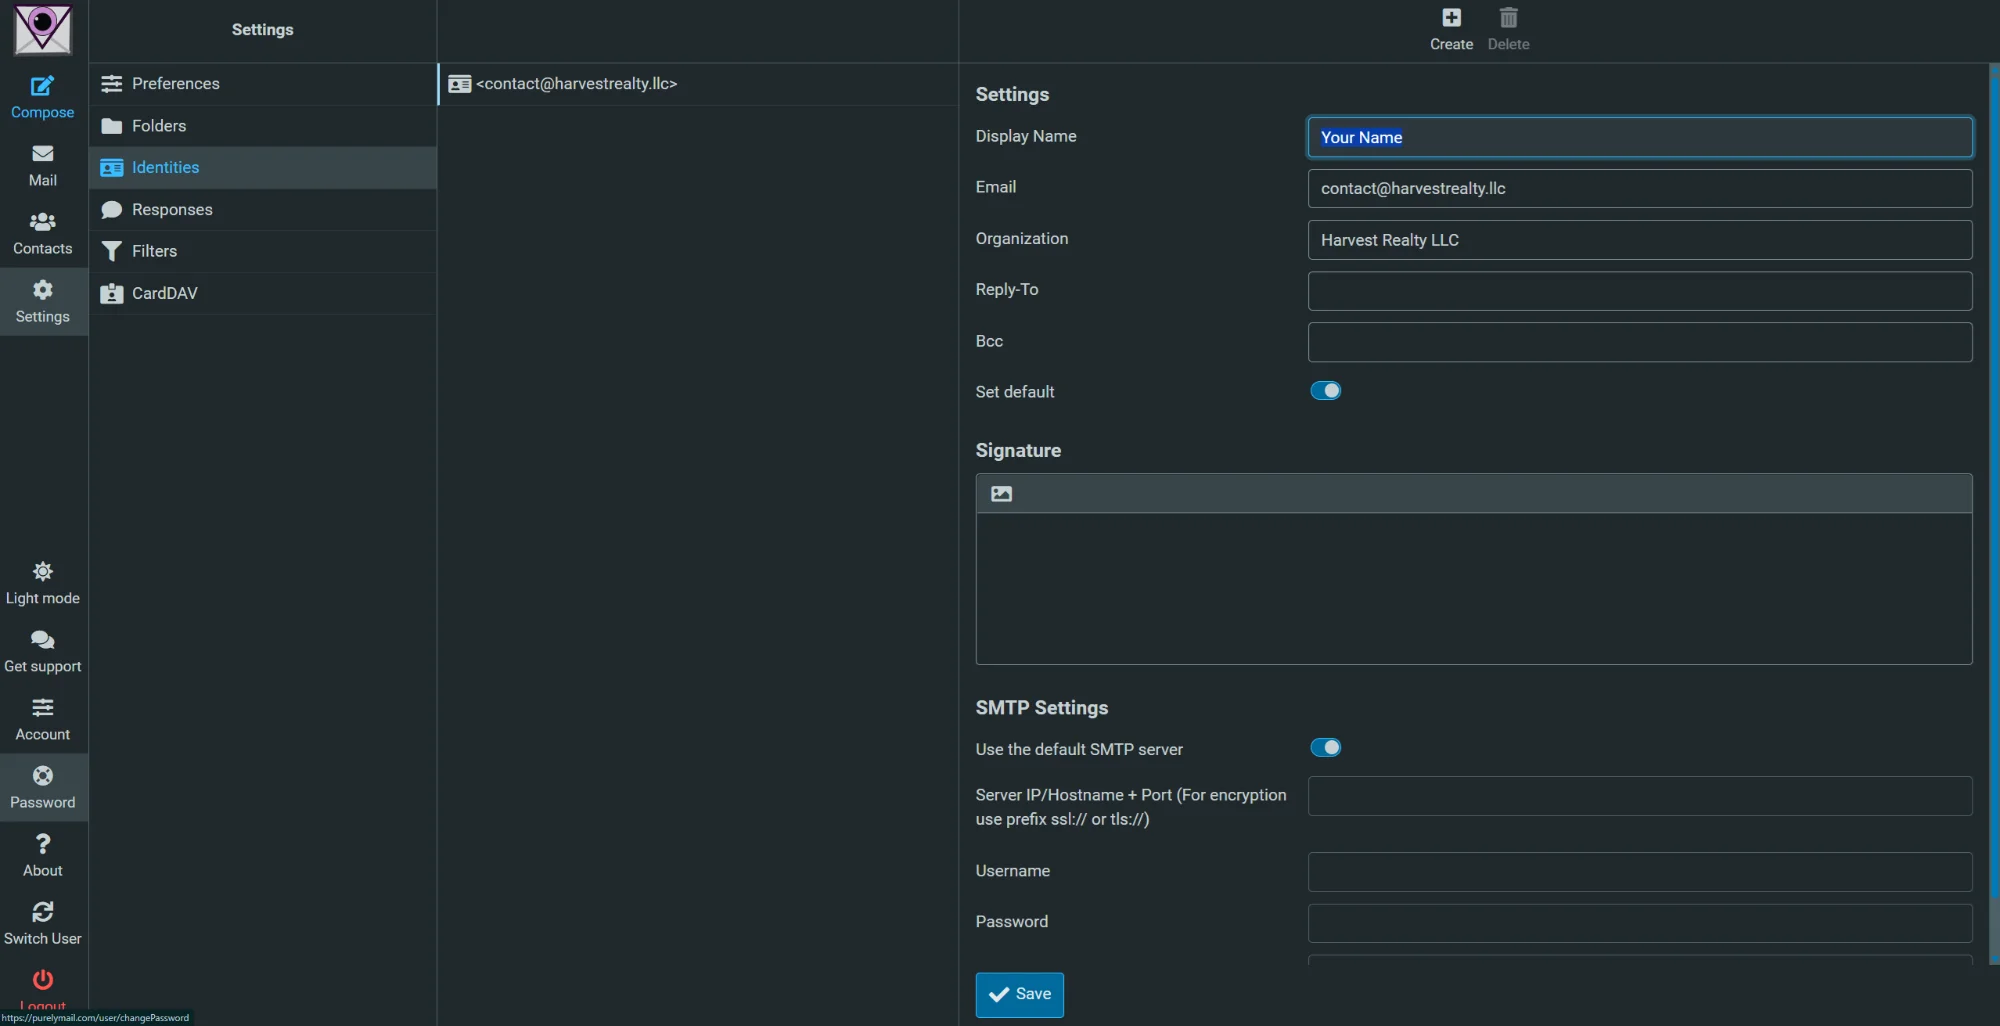
Add Your Name to the Account
Click Settings on the left sidebar, then Identities. Change "Your Name" to your actual name (e.g., "Prasad Abraham"). Click Save.
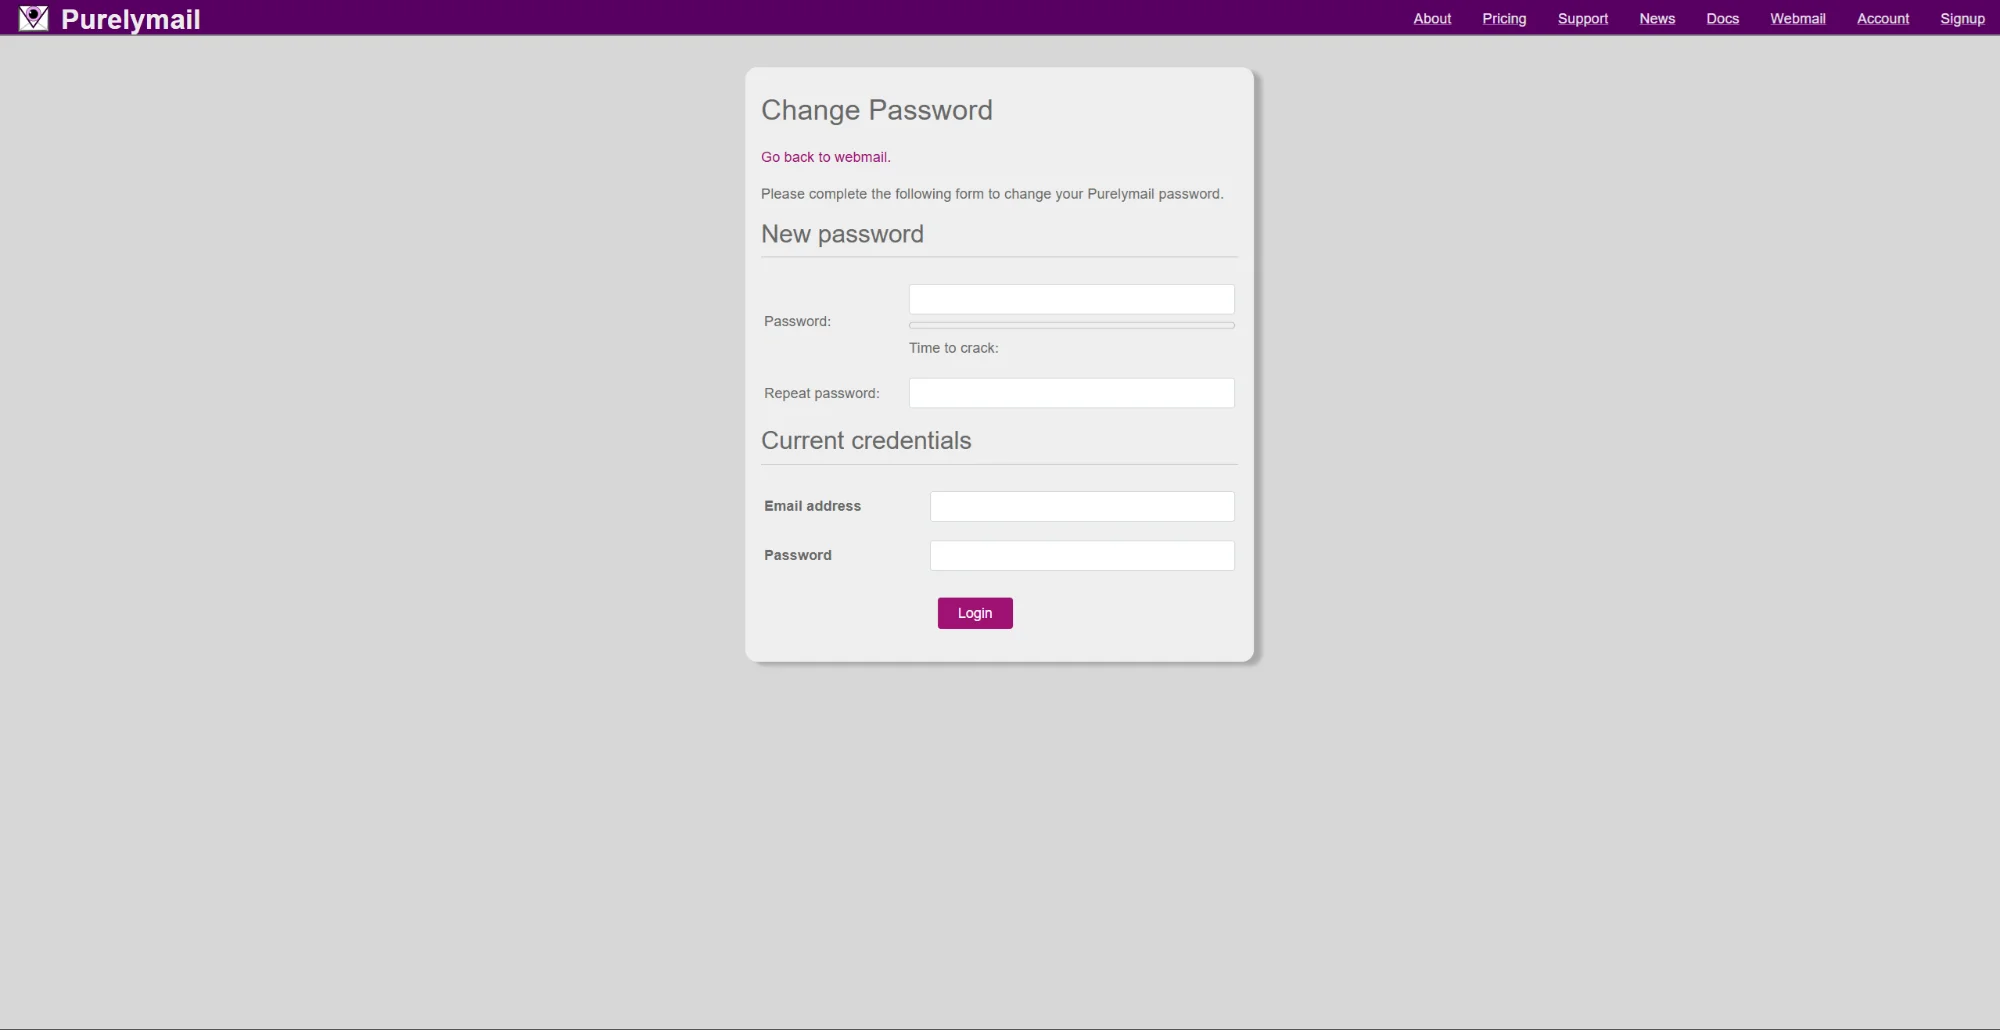
Change Your Password
Click Password on the left sidebar to go to the password change page.
Set Your New Password
Enter your new password twice, then enter your current credentials below and click Login to save. Use this new password for all future logins and device setup.
✅ First-time setup complete! You can now set up email on your iPhone or use webmail anytime at purelymail.com/user/login
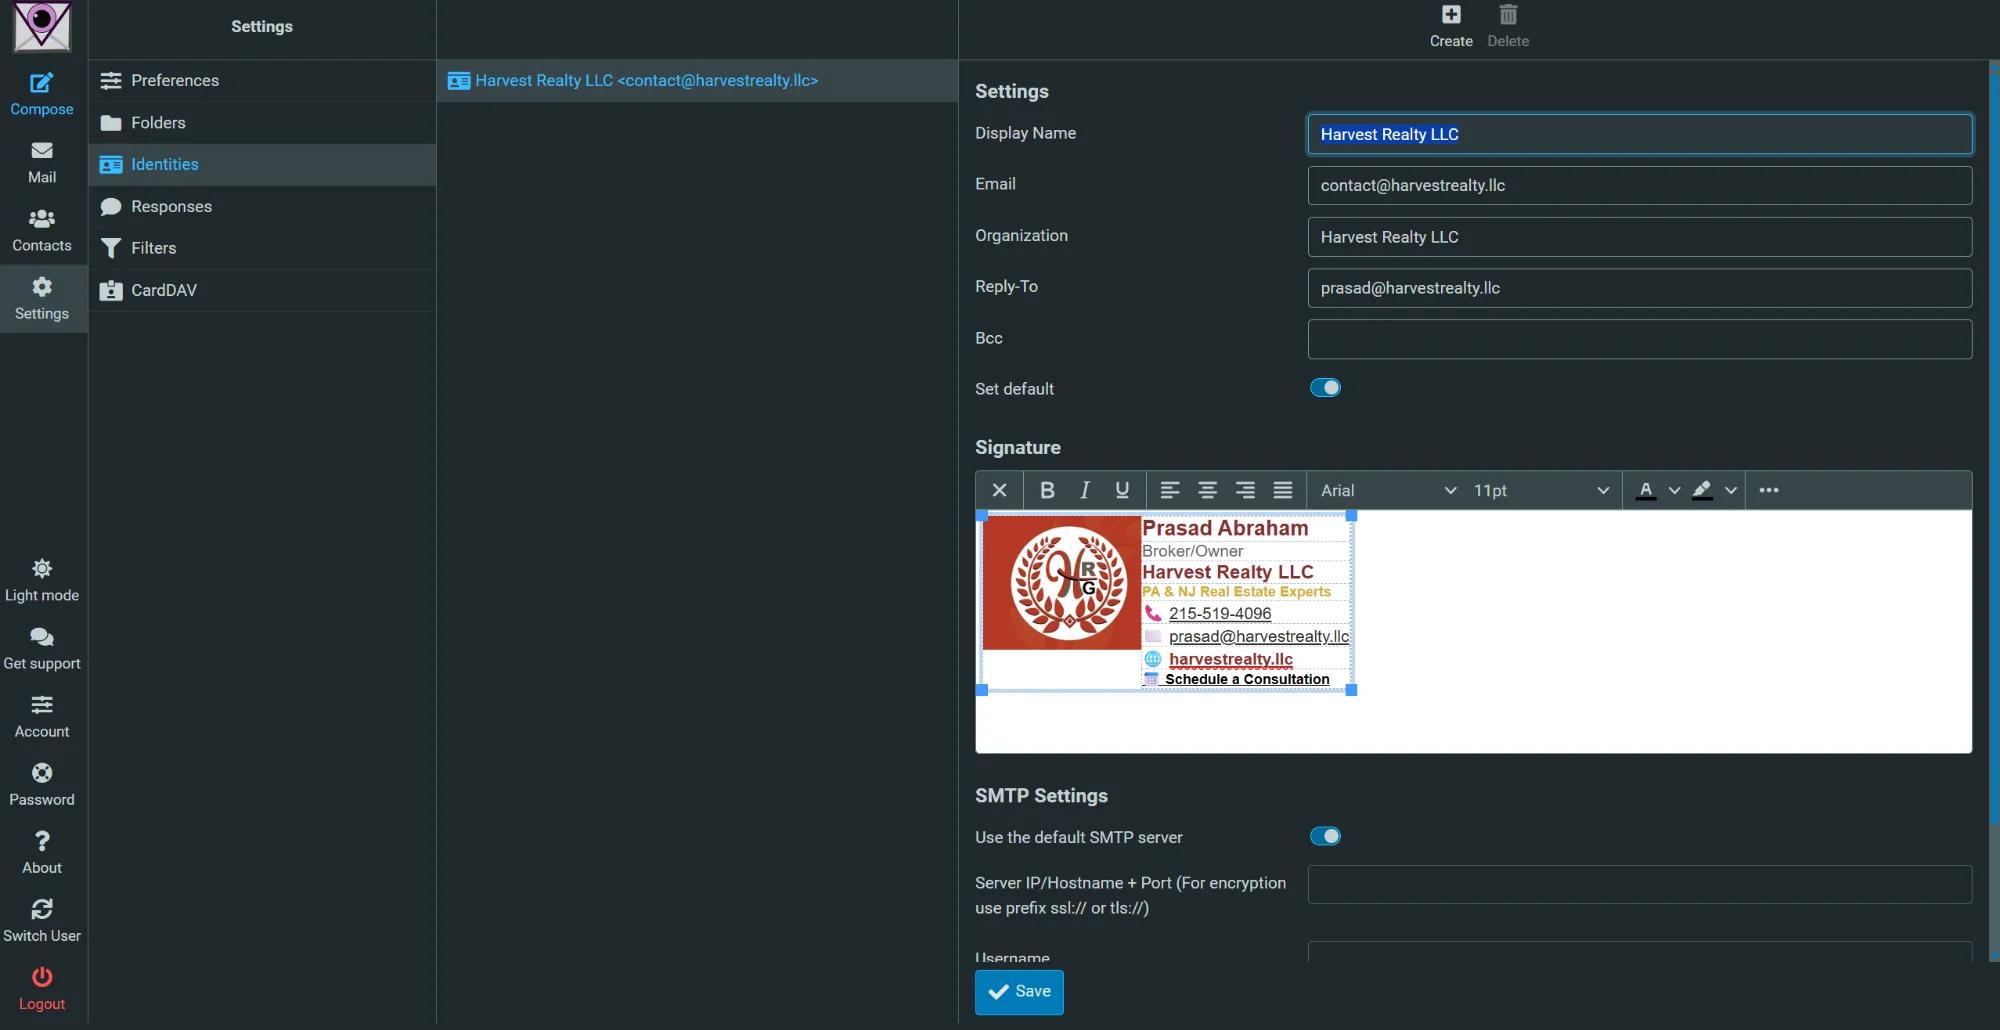
✉️ Optional: Add Your Email Signature
While in webmail, you can add your professional email signature:
- Go to Settings → Identities
- Click on your email identity (e.g., <[email protected]>)
- Scroll down to the Signature section
- ⚠️ IMPORTANT: Click the Photo Icon (🖼️) in the signature toolbar to switch to white background mode - you can only paste the signature properly when the background is white!
- Visit our Email Signature Generator to create your signature
- Click "Select All" then copy (Ctrl+C / Cmd+C)
- Paste into the Signature box in webmail (must be white background)
- Click Save
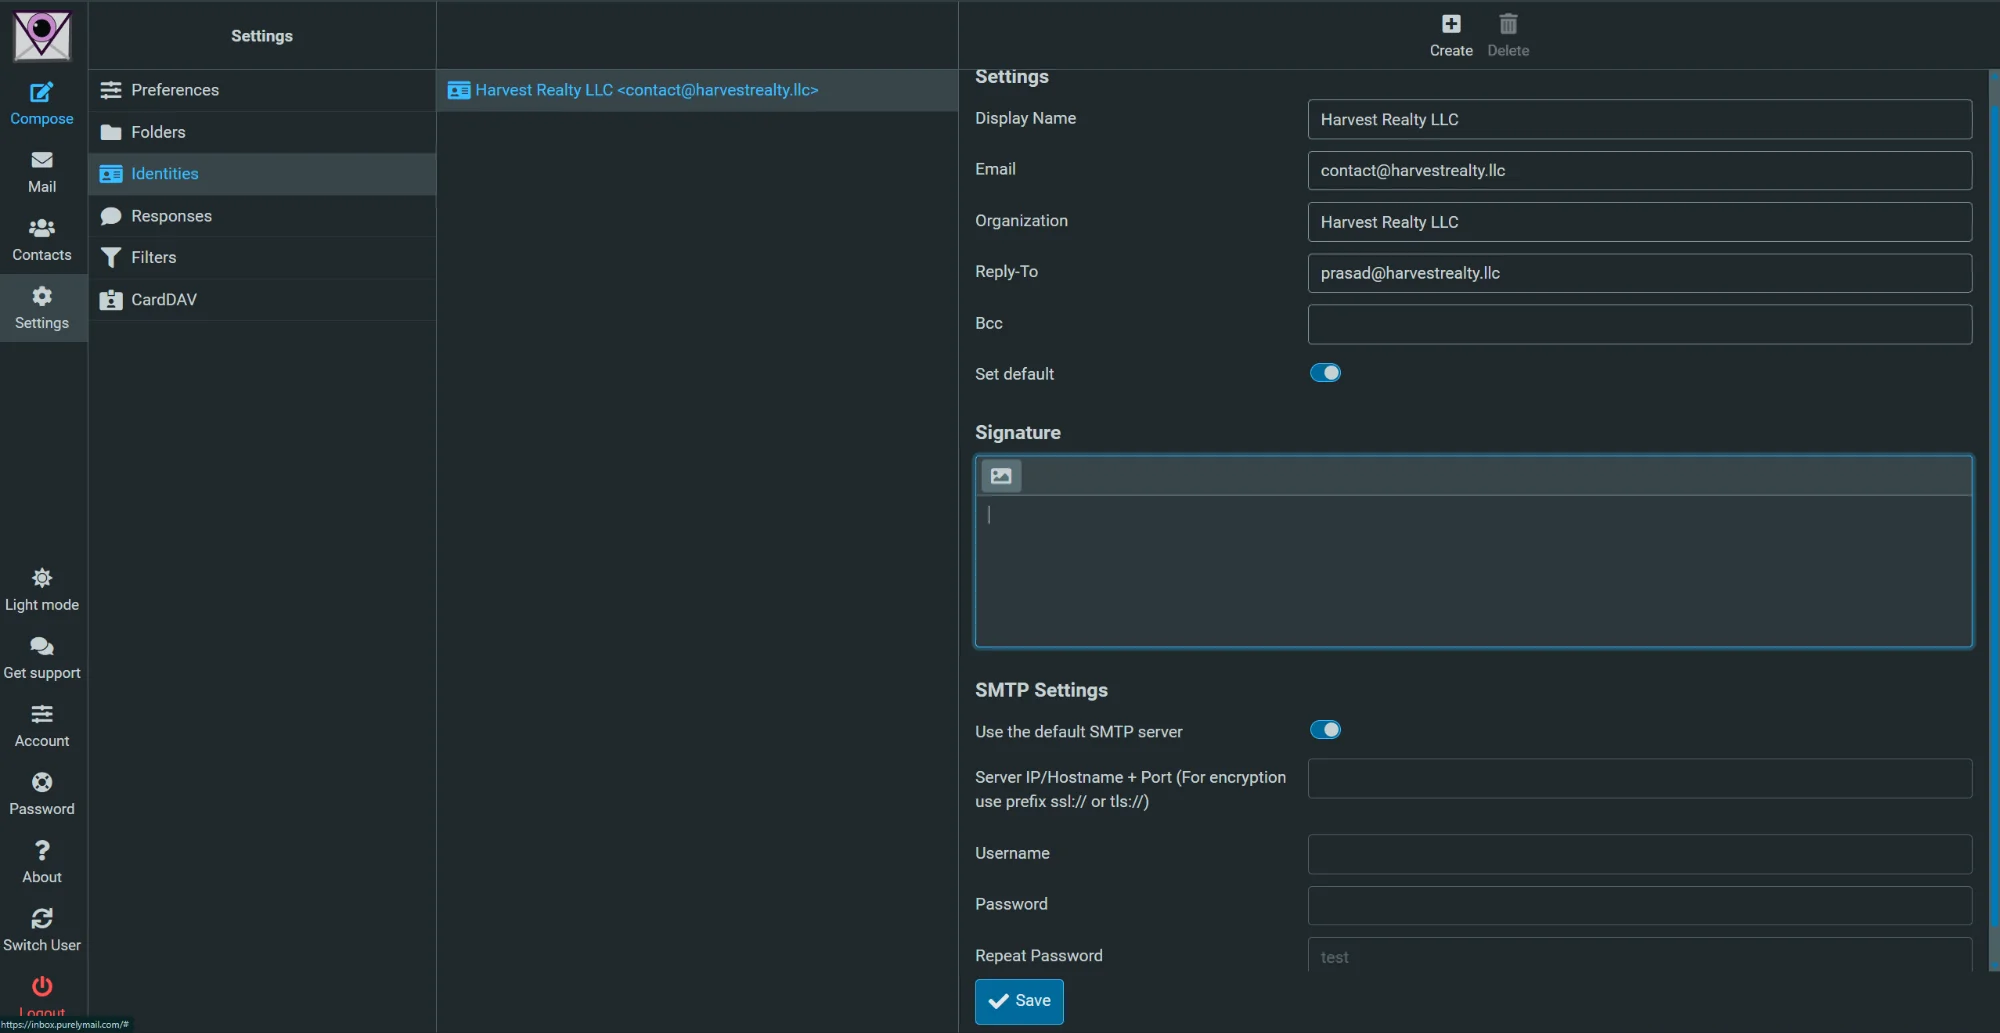
Click the Photo Icon
In the Signature box, click the Photo Icon (top-left of the signature area) to switch to white background mode. This is required for the signature to paste correctly.
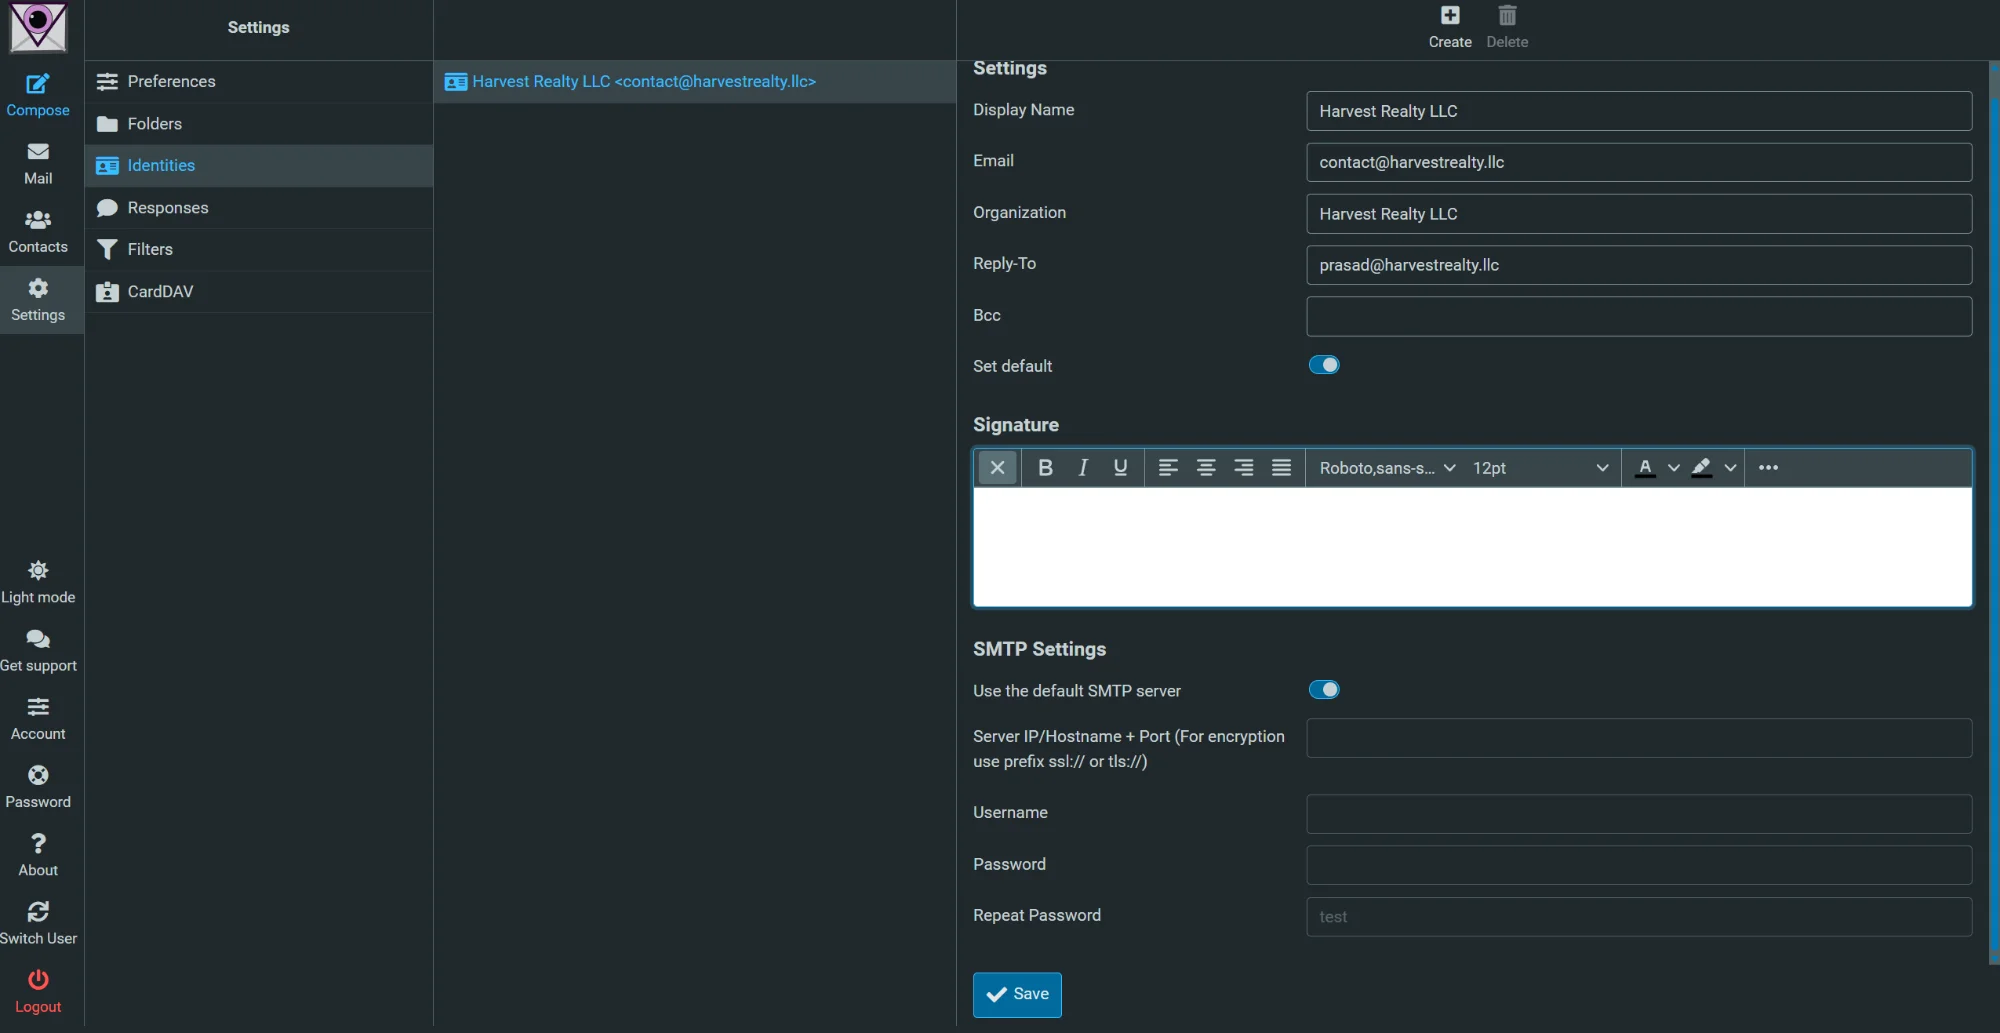
White Background Ready
Once you see the white background with the formatting toolbar, you can paste your signature. The background must be white for the signature to display correctly.
Paste Your Signature
After pasting, your signature should appear in the Signature box like this. Click Save to apply it to all outgoing emails.
⚠️ Tip: If the signature doesn't paste correctly, make sure you clicked the Photo Icon first to get the white background!
☁️ Optional: Create Google or Microsoft Account
For additional features like cloud storage, calendar, and productivity apps, you can create a Google or Microsoft account using your Harvest Realty email.
💡 Benefits: Access to Google Drive/OneDrive for file storage, Google Calendar/Outlook Calendar for scheduling, and other productivity tools — all linked to your @harvestrealty.llc email!
🔵 Create a Google Account
Get access to Google Drive, Google Calendar, Google Docs, and more:
- Go to accounts.google.com/signup
- Click "Use my current email address instead"
- Enter your [email protected] email
- Follow the prompts to verify your email and create your account
- You can now use Google Drive, Calendar, Docs, etc. with your work email!
🟦 Create a Microsoft Account
Get access to OneDrive, Outlook Calendar, Microsoft 365 apps, and more:
- Go to account.microsoft.com
- Click "Create a Microsoft account"
- Choose "Use an email address you already have"
- Enter your [email protected] email
- Follow the prompts to verify and complete setup
📅 Set Up Your Personal Appointment Calendar
Each agent can create their own Cal.com account to manage personal appointments and let clients book directly with you.
Create Your Cal.com Account
- Go to cal.com/signup
- Sign up using your [email protected] email
- Choose a username (e.g., cal.com/prasadabraham)
- Set up your availability and appointment types
- Share your personal booking link with clients!
📱 Sync with iCal/Google Calendar: Cal.com can sync with your iPhone Calendar (iCal), Google Calendar, or Outlook Calendar so all your appointments appear in one place. Set this up in Cal.com under Settings → Calendar.
📱 iPhone / iPad Setup Guide
After completing the webmail first-time setup above, follow these steps to add your email to your iPhone or iPad.
Tap any screenshot to enlarge
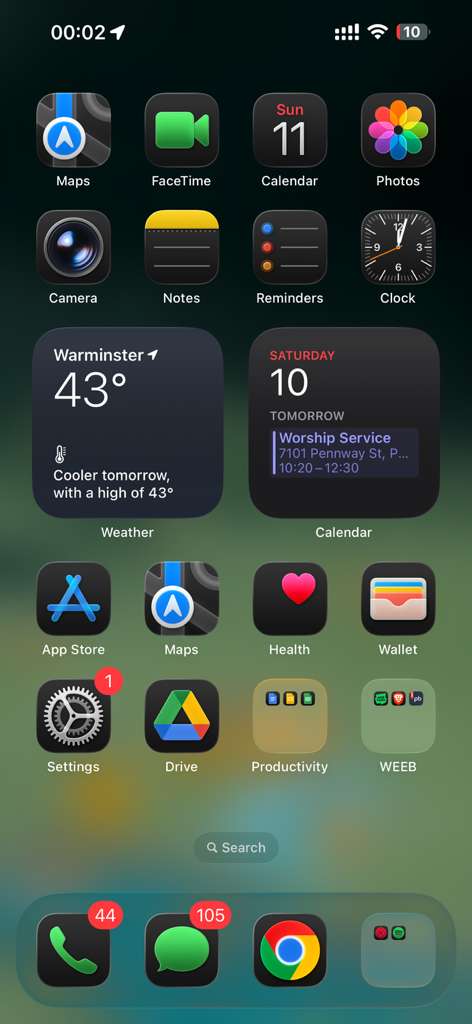
Locate the Settings App
From your home screen, find and tap the Settings app (gray gear icon).
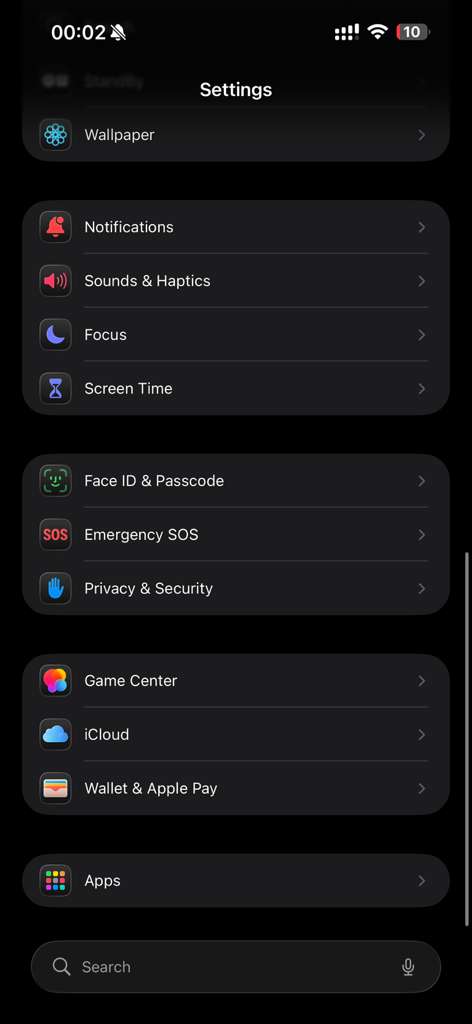
Go to Apps
Scroll down and tap on Apps.
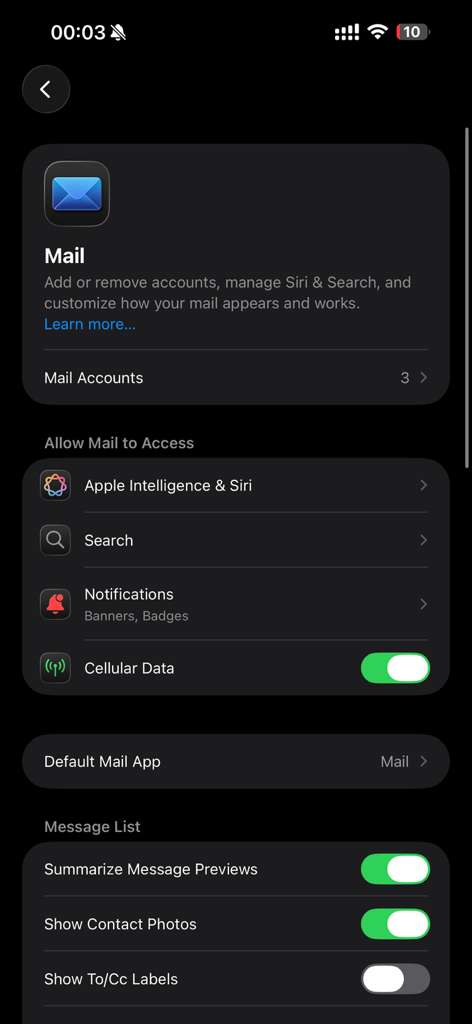
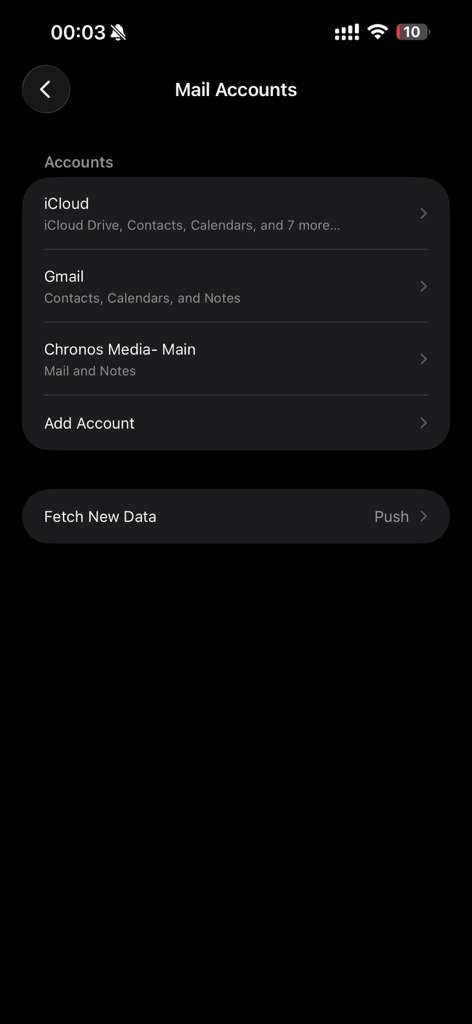
Open Mail Settings
Tap on Mail, then tap Mail Accounts.
Add New Account
Tap Add Account to add your Harvest Realty email.
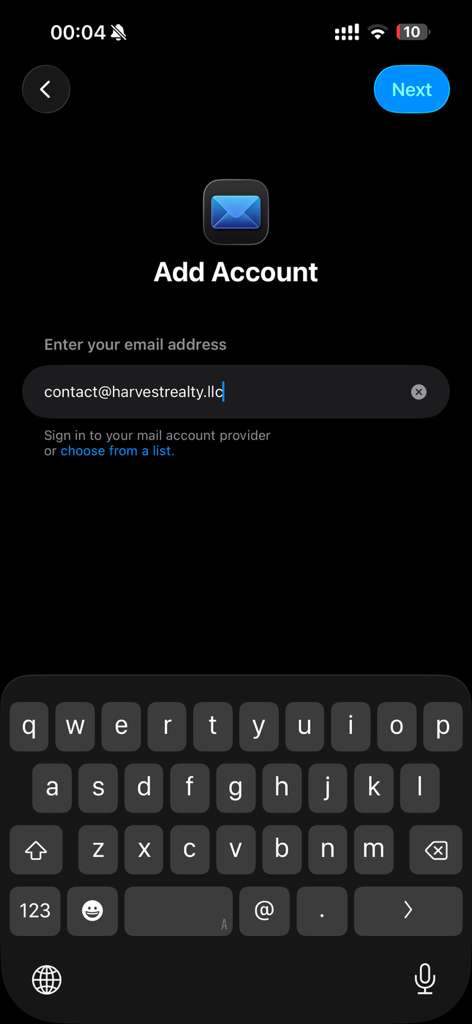
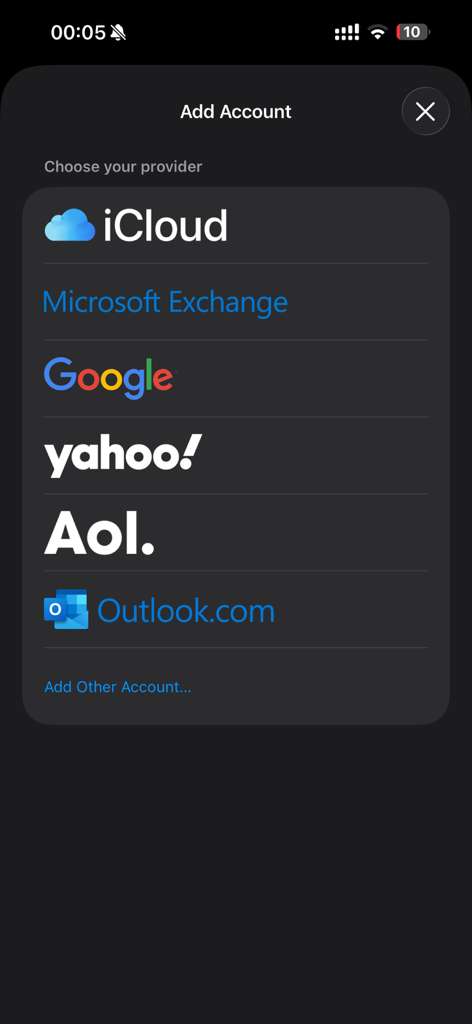
Select "Add Other Account"
At the bottom of the provider list, tap Add Other Account...
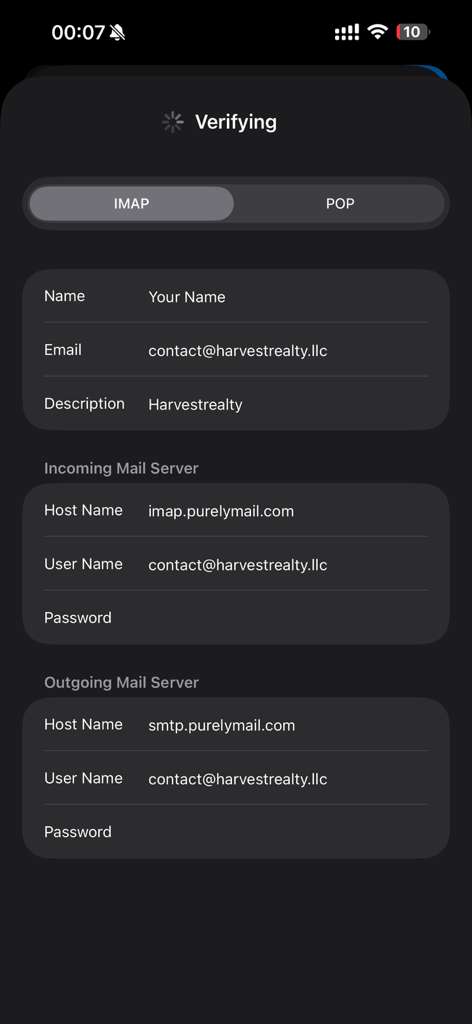
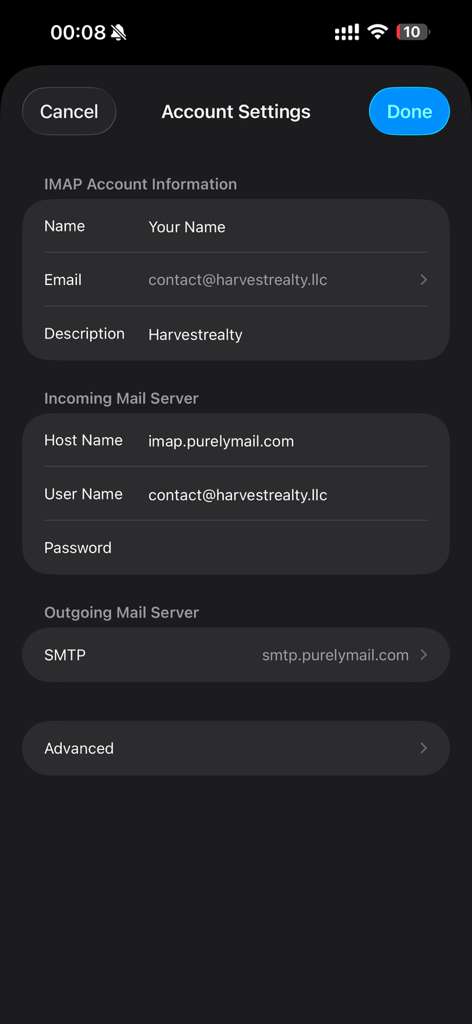
Enter Server Settings
Select IMAP and enter:
- Incoming (IMAP): imap.purelymail.com
- Outgoing (SMTP): smtp.purelymail.com
- Username: [email protected]
- Password: Your email password
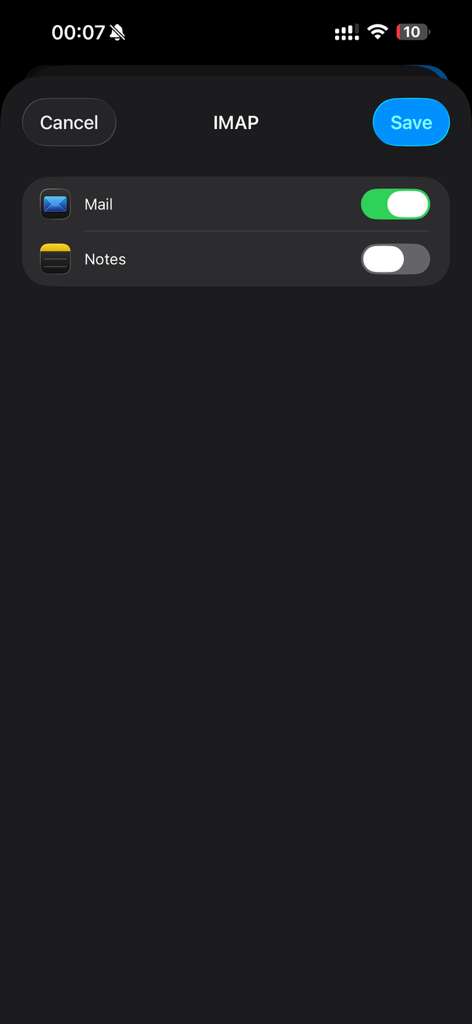
Save the Account
Make sure Mail is toggled ON, then tap Save.
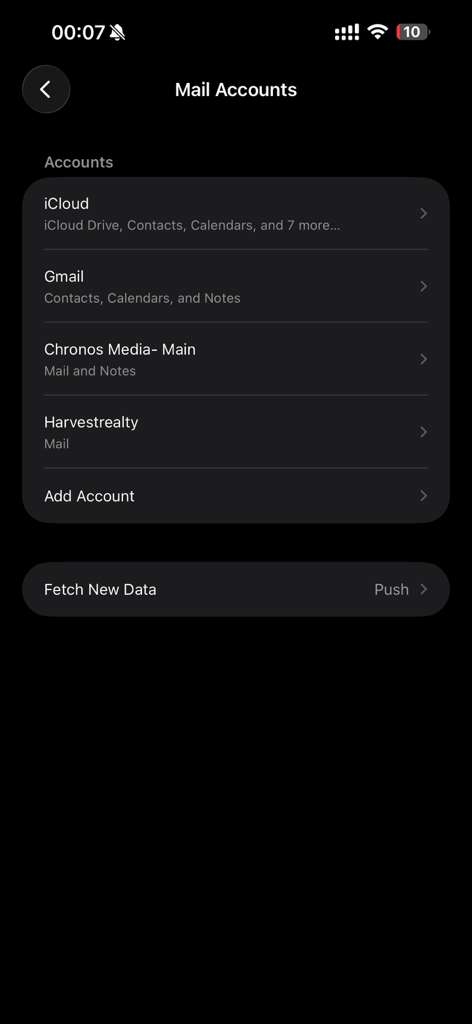
Account Added Successfully
You should now see Harvestrealty in your accounts list. Tap on it to verify settings.
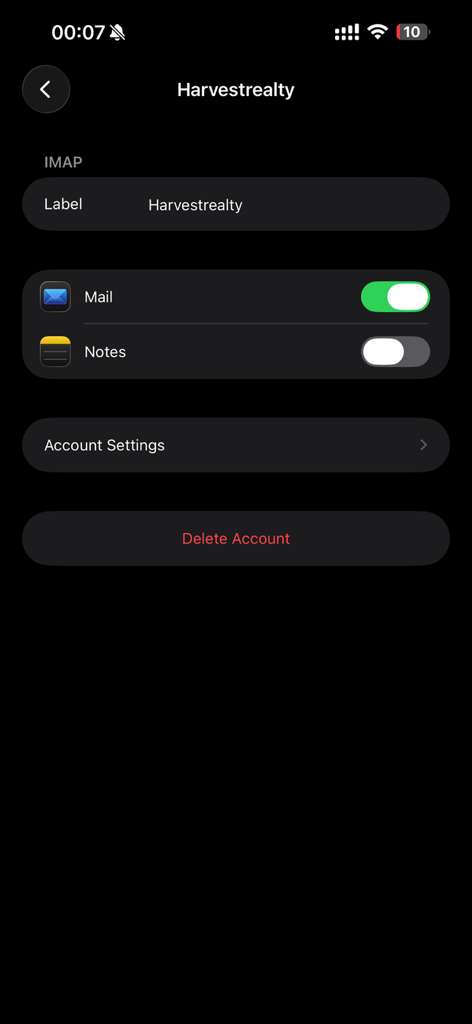
Open Account Settings
Tap Account Settings to verify your configuration.
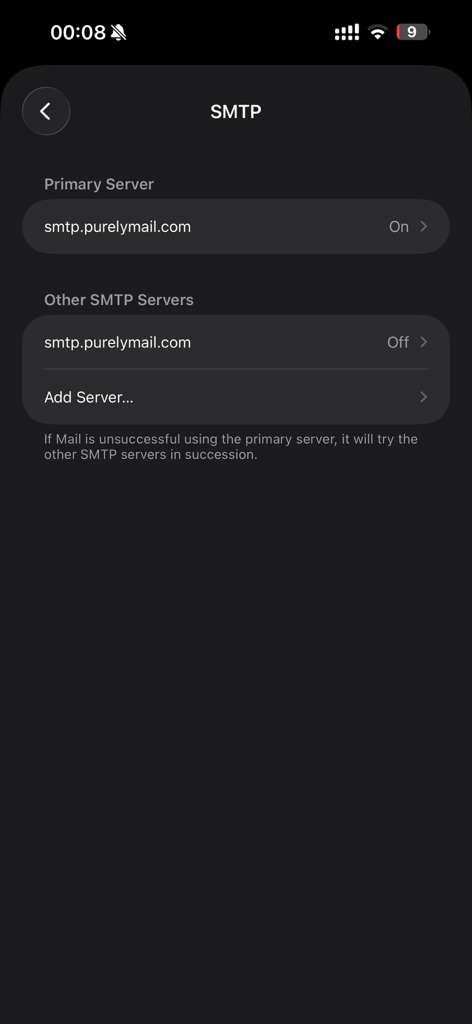
Check SMTP Settings
Tap on SMTP under Outgoing Mail Server.
Select Primary Server
Tap on smtp.purelymail.com under Primary Server.
Verify SMTP Port Settings
Make sure these settings are correct:
- Use SSL: ON ✓
- Server Port: 587
Tap Done when finished.

Go Back to Account Settings
Navigate back to the main Account Settings screen.

Verify Advanced (IMAP) Settings
Tap Advanced and verify:
- Use SSL: ON ✓
- Server Port: 993
Tap Done to complete setup!
